
Date: Dec. 21, 2020
During the operation of the belt conveyor, a sudden shutdown or operational failure can disrupt the entire production line and result in significant economic losses. Therefore, it is essential to master the correct installation and operating procedures.
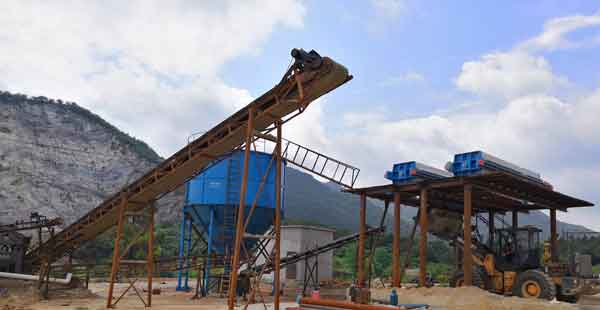
The main body should be installed in the following order: first the head pulley unit, then the intermediate frames for each section, and finally the tail pulley unit. Before installing the frames, the centerline of the conveyor must be established. All working centers along the conveyor’s length should align in a straight line.
During the installation of each frame, ensure that the longitudinal centerline remains consistent across the conveying distance, and that the longitudinal horizontal tilt angle stays within the allowable tolerance range.
The error range of the single-row rack relative to the centerline should be ±0.1mm, and the deviation of the conveyor from the center of the rack should be less than 35mm. Once the placement of all single-section racks has been verified as correct, all components can be connected. After connection is complete, check the firmness of the installation and the accuracy of the center position.
Ensure that the drive shaft of the belt conveyor is perpendicular to the centerline of the belt conveyor, and that the centerline of the conveyor aligns with the center of the drive roller width. The traditional axis and the reducer axis must also be parallel.
Additionally, all shafts and rollers should be leveled first to ensure smooth operation under no-load and powered conditions. The horizontal error range for the shaft should be within 0.5–1.5mm.
During the installation of the driving device, the corresponding tensioning device can also be installed simultaneously. The centerline of the belt conveyor and the roller axis of the tensioning device should also be in a vertical state.
This step is a critical part of installing the belt conveyor, significantly influencing its working efficiency and service life.
Once the frame, transmission device, and tensioning device have been installed sequentially, proceed with installing the idler frames and the upper and lower idlers. The conveyor belt should gradually form a curved arc shape, and the spacing between idler frames in the turning section should be half that of standard idler frames. After installation, ensure sufficient flexibility and reliability.
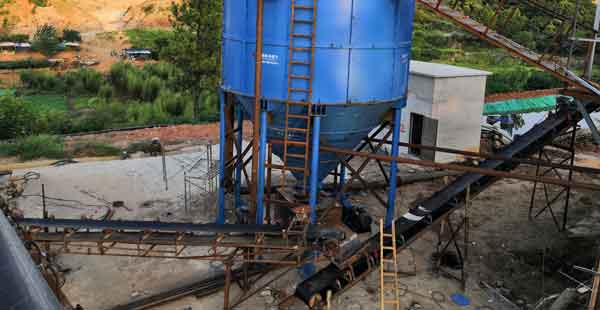
During the installation of the frame and idlers, the following conditions must also be met:
(1) All idlers must remain parallel and aligned in rows relative to each other.
(2) All idlers must also remain horizontal, parallel, and aligned in rows relative to each other.
(3) Once these preparatory steps are complete, install the rack onto the floor or foundation. After securing the belt conveyor, proceed with installing the feeding and discharge devices.
(4) All supporting structure frames must be kept horizontally parallel and aligned in a straight line. Therefore, once the installation of the drive roller and support roller frame is complete, the horizontal position and center alignment of the conveyor should be corrected immediately.
The no-load test should be conducted in advance to ensure that the conveyor belt operates without deviation. At the same time, the operating status of the rollers, the contact between the conveyor belt surface and the guide plates, and the operating temperature of the drive components must all meet usage requirements. Necessary debugging work must be carried out, and the machine can only be operated after all parameters are confirmed to be correct.
Please enter your inquiry and contact. We will reply you as soon as possible.
We are here for your questions anytime 24/7, welcome your consultation.
The latest sand washer price.
Installation and maintenance.
Screening
Sand Washing Machines
Sludge Treatment
Sand Recycling Machines
Address: Shuangyue Road, Changdai Town, Mengjin County, Luoyang, China
Email: export@lylzzg.com
Tel: +86-18736301510


 日本語
日本語 Русский
 中文
中文 Español
 Français
 Português
 العربية
 Tiếng Việt
 Deutsch
 한국어
한국어 Türkçe
 বাংলা
বাংলা हिन्दी
 Bahasa Melayu
 Kiswahili